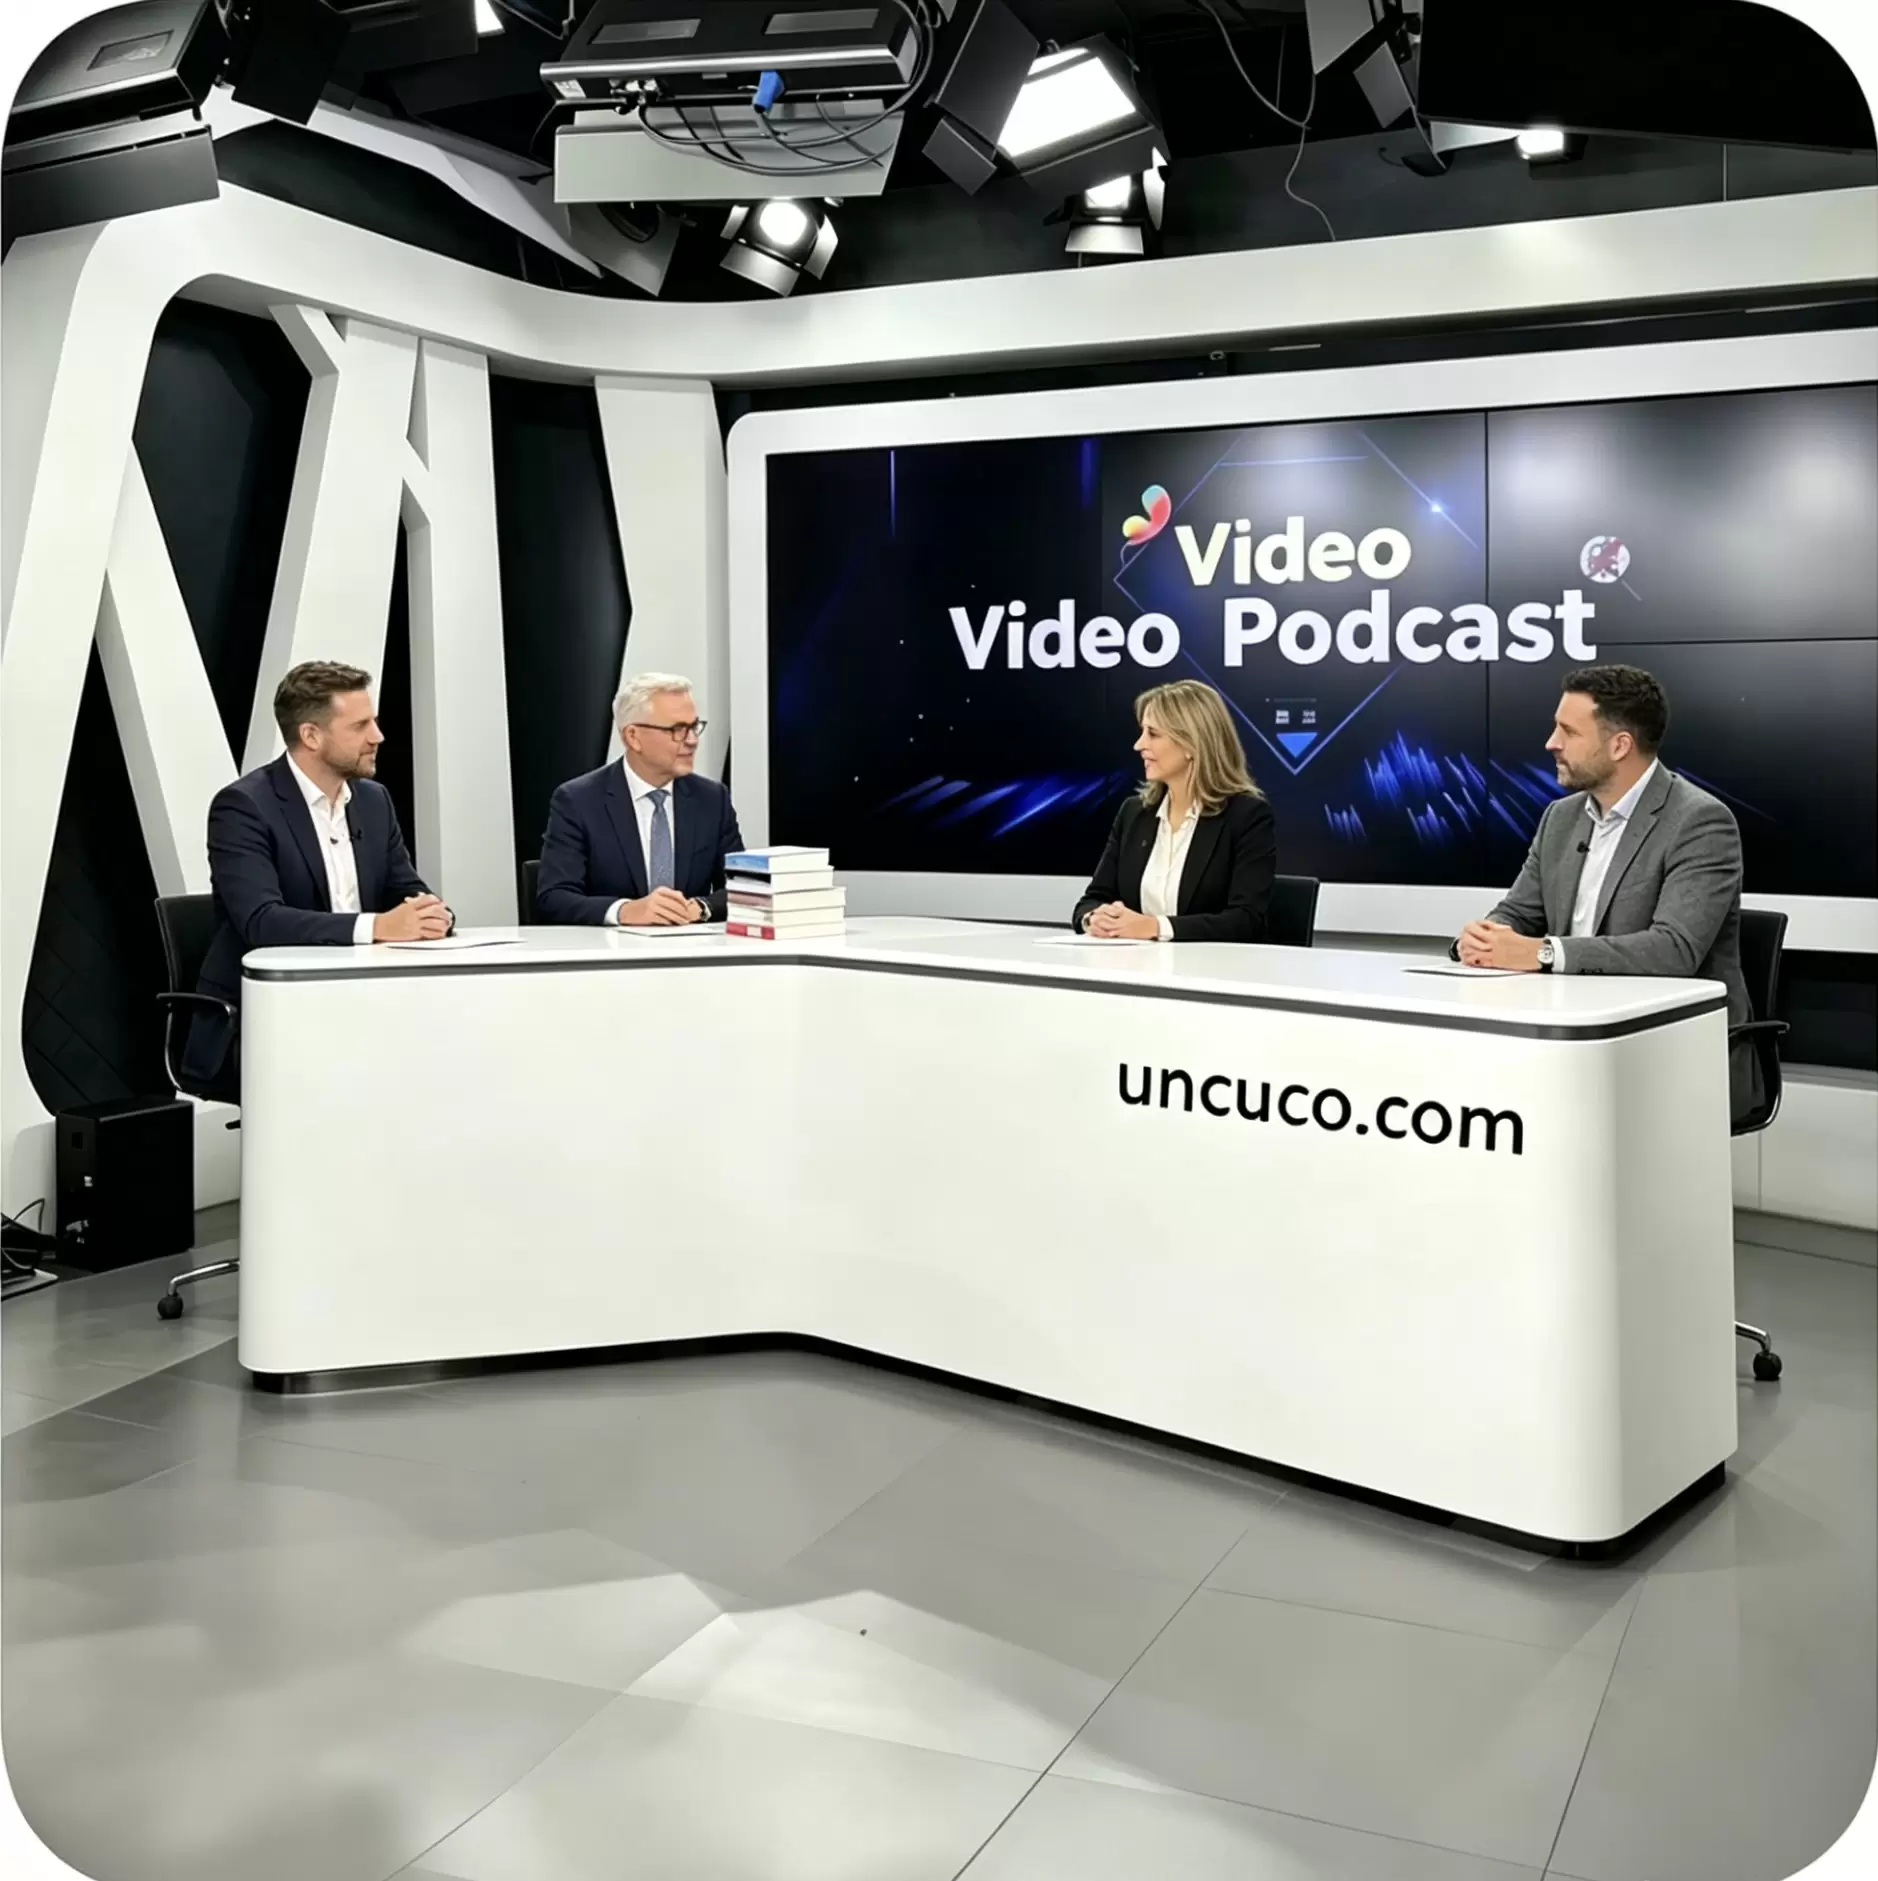


2026 World Cup Broadcast Guide
How to Build a World Cup
Commentary Studio at Home
The 2026 FIFA World Cup features 48 teams, 104 matches, and the biggest content opportunity in sports history. Here’s how to build a professional broadcast setup — starting from just 43 square feet of space.
To build a World Cup commentary studio at home, you need: (1) a minimum 43 sq ft (4 sq meter) dedicated corner, (2) a professional news anchor desk with cable management, (3) a camera positioned at eye level 4–6 feet away, (4) a two-point lighting setup, and (5) a condenser microphone on a boom arm. A complete setup costs $500–$3,000 depending on your tier.
The 2026 FIFA World Cup kicks off on June 11 and runs through July 19 — 39 days of the world’s most-watched sporting event. For content creators, podcasters, and independent broadcasters, this is a once-in-a-generation opportunity to grow an audience.
But here’s the problem most creators run into: they have the knowledge, the passion, even the audience — and then they go live looking like they’re on a Zoom call from a spare bedroom. In the age of 4K streaming and professional-quality production, your setup is your first impression.
This guide walks you through every step of building a real, professional-quality commentary studio at home — one that looks broadcast-ready from the first frame.
“You don’t need a TV studio budget. You need the right desk, the right light, and the right frame. The rest is commentary.”
Step 1 — Plan Your Space (You Need Less Than You Think)
The most common mistake new creators make is assuming they need a dedicated room. You don’t. A well-chosen corner of 43 square feet (approximately 4 square meters) is enough to create a setup that looks indistinguishable from a professional broadcast environment on camera.
Finding the Right Corner
Choose a location that satisfies three criteria:
Avoid rooms with hard parallel walls (they create echo). Carpeted rooms, rooms with bookshelves, or any space with soft furnishings naturally dampen reflections. If you’re in a hard-floored space, a rug under and around your setup makes a measurable difference.
A wall with no direct sunlight behind you is ideal. Sunlight behind you creates silhouetting. Sunlight in front of you (from a window facing you) is actually excellent — you can use it as a free key light. Avoid windows to your side unless you have curtains.
Your background tells the audience who you are before you say a word. Options range from a plain painted wall (deep green, charcoal, or navy read as professional), a styled bookshelf, a branded fabric backdrop, or a purpose-built media wall. Whatever you choose: keep it intentional, not accidental.
Shoot a test frame before buying anything. Set up your phone at approximate desk height, point it at your chosen corner, and look at the image critically. What’s in the background? What’s the light doing? Fix problems before they become permanent.
Step 2 — Choose the Right Desk (This Is Your Most Important Decision)
Here’s something nobody tells new creators: the desk is the single highest-impact element in your broadcast setup. It anchors the frame. It defines your brand. It holds every piece of equipment you own. And it’s the one thing your audience sees in every single frame of every video you ever make.
A standard office desk — even an expensive one — is not designed to be filmed. It’s too deep, too reflective, too cluttered, and the wrong height for broadcast camera angles. A purpose-built news anchor desk solves all of these problems by design.
Why a News Anchor Desk Changes Everything
Professional broadcast desks are engineered specifically for the demands of on-camera work. Here’s what separates them from a standard office setup:
- Low-glare matte surface finish — eliminates distracting reflections in 4K and HDR video
- Broadcast-optimized height (28–30″) — keeps your posture natural and camera angles flattering
- Integrated cable management system — every cable disappears, giving you a clean look on camera
- Curved front edge — ergonomically designed for 8–12 hour broadcast sessions during World Cup coverage
- Structured equipment mounting points — monitor arms, mic booms, and light rigs attach cleanly
- Wide-format depth (30″+) — enough room for multiple monitors, a laptop, and on-desk props
When you set up a news anchor desk correctly, the camera sees a complete, polished environment — not a repurposed workspace. That visual authority translates directly into audience trust and channel credibility. See our full range of professional broadcast desks →
Step 3 — Master Lighting (The Skill That Costs Almost Nothing to Learn)
Lighting is the most dramatic improvement available to home broadcasters at the lowest cost. A $60 LED panel, correctly positioned, can make a $500 camera look like a $5,000 one. The inverse is equally true: a $5,000 camera in bad light looks worse than a phone with good light.
The Two-Light Setup (All You Need)
Place your brightest light at roughly 45 degrees to one side of your face, slightly above eye level. This creates natural, dimensional shadows that make faces look defined and professional. For World Cup coverage — where you want to project authority — a cooler color temperature (5500–6000K, “daylight”) reads as crisp and credible on screen.
Place a softer, dimmer light on the opposite side at about 50% the brightness of your key. This fills in the shadows created by the key light without eliminating them entirely. If you don’t have a second light, a large white reflector card (or even a piece of white foam board) does the same job for free.
During night matches (which run late in the US), your background and ambient light will change. Film a quick test recording during the time of day you plan to go live. Night broadcasts often benefit from warmer background lighting (3000–3500K) to add visual depth and prevent the setup from looking flat.
Step 4 — Camera Placement and Angles for Sports Commentary
Camera angle is psychology. The position of your camera relative to your face communicates status, credibility, and emotion — before you’ve said a single word.
The Broadcast Standard: Eye Level, Slight Reveal
Position your camera at exact eye level, approximately 4–6 feet away. This creates a peer-to-peer connection with your audience — the same technique used by every major sports network in the world. Use a wide enough frame to show your desk, the top of your shoulders, and a few inches of your background. This “establishing shot” tells the audience: this person has a real setup.
Framing Your Shot
Your eyes should sit at approximately two-thirds up the frame (not centered). Leave some “headroom” above your head, but not too much — tight framing reads as more intimate and focused, which suits match commentary and tactical analysis content.
Entry level: A recent iPhone or Samsung Galaxy on a fixed mount produces remarkable results. Mid-tier: Logitech BRIO 4K (~$150) is the most popular upgrade. Professional: Sony ZV-E10 or Canon M50 with a 16mm lens gives you a true cinema look that no webcam can match.
Step 5 — Audio Setup (Where Amateurs and Professionals Split)
If lighting is the most impactful upgrade visually, audio is the most impactful upgrade to audience retention. Research on podcast listening and video viewing consistently shows that audiences will tolerate mediocre video, but they will abandon content with mediocre audio within the first 30 seconds.
The Right Microphone for Commentary
For sports commentary, you want a cardioid condenser microphone mounted on a boom arm at 45 degrees, pointing at your mouth from slightly above. This arrangement gives you clean, close-proximity audio while keeping the mic out of your camera frame. Avoid omnidirectional mics — they pick up room noise, keyboard clicks, and ambient sound that destroy audio quality in home environments.
Simple Acoustic Treatment
You don’t need a professionally treated room. A few well-placed improvements make most home spaces workable: a thick rug, a bookshelf behind you filled with books (irregular surfaces scatter sound), and a moving blanket or acoustic panel directly behind your microphone. For under $100, you can eliminate 80% of the echo that marks amateur recordings.
Step 6 — Cable Management (The Detail That Separates Good From Great)
You’ve invested in a quality desk, a great camera, professional lighting. Then your audience sees a tangle of cables running across your desk surface. It immediately signals: this is a home setup, not a studio.
A professional news anchor desk with integrated cable management routes every power cable, USB cable, audio cable, and HDMI cable through internal channels — completely out of the camera’s line of sight. The result is a surface that looks as clean as a network news set.
If your desk doesn’t have built-in management, cable raceways (rigid plastic channels) mounted under the desk edge, combined with velcro cable ties and a cable box for power strips, can achieve a similar effect for about $30–50.
Complete Gear Checklist: Three Budget Tiers
$500–$800
$1,500–$2,500
$3,000+