

Recording professional vocals in a makeshift setting: Recording tips for bedroom music producers
With just a microphone, a computer, and a little DIY spirit, we can help you record professional-quality vocals even in the most basic settings.
Vocals, like acoustic drums, are among the most difficult musical elements to record at a professional level, especially when you don’t have access to a professional recording studio. However, they remain crucial in modern music production.
Whether sung, whispered, spoken, shouted, or rapped, a catchy vocal melody can transform a decent song into a truly outstanding masterpiece. Our ears are naturally most sensitive to the human voice, and it is often the most prominent subject in various styles and genres of music. This makes the process of recording vocals crucial.
Of course, we can use various methods to make vocal recordings more profound, more moving, or more dazzling, but ultimately, doing a good job of recording itself is probably already winning 90% of the battle .
In the past, recording for singers and MCs was the exclusive domain of large commercial recording studios equipped with dedicated recording booths, rooms full of high-quality microphones, and rows of high-end hardware processors. However, with the advent of more affordable recording equipment on the market today, coupled with the powerful performance of modern computers and a little DIY skill, it’s entirely possible to record release-worthy material in the comfort of your own home.
In this article, we’ll explain in detail how to transform your bedroom or spare room into a studio ideal for recording vocals. We’ll teach you how to handle spaces with excessive echo, how to make your own pop shield, and how to minimize background noise. Of course, we’ll also share best practices for properly setting up microphones, audio interfaces, and digital audio workstations (DAWs). Furthermore, we’ll discuss how to monitor during recording to help your singer perform at their best. So, without further ado, let’s begin!
I. Room setup before recording
Before you start recording, there are a few things you can do to ensure you get the cleanest sound into your computer. This includes making some adjustments to the room, considering the placement of the microphone, and minimizing any unwanted noise that might get into the recording.
To have maximum flexibility in subsequent vocal audio processing, you need to record the cleanest possible sound into the microphone. The most important step is to hang a blanket on the wall behind the singer (using thumbtacks is probably the quickest way to secure it), which reduces sound reflected in front of the microphone – the front of the microphone pickup head is sensitive.
The purpose of this is to reduce the harsh, metallic room reverberation in the recording— generally speaking, it is better to record as dry a sound (without reverberation) as possible and then add your own reverb effects using plugins in post-production .
If possible, choose a carpeted room ; if not, at least lay a thick carpet in the area where the singer and microphone are located. In addition to the floor, walls, and ceiling reflecting sound, windows also reflect a lot of sound, so be sure to draw the curtains, close the blinds, or at least hang blankets on the glass surfaces of the recording studio .
In fact, any flat surface will become your “enemy” because they easily reflect sound. So, if you have a lot of unused blankets, towels, or odds and ends of bedding in your closet, take them out and cover as many wall surfaces as possible, as well as the tops of furniture such as tables and desks. If you don’t have enough of these, concentrate your resources on covering the area behind the singer’s head in the room.
If the above methods fail to control sound reflections in the recording room, you can try covering the singer’s head and microphone with a large blanket—this has the added benefit of preventing sound reflected from the ceiling from entering the microphone. However, make sure the blanket doesn’t touch the microphone or microphone stand, otherwise any movement of the blanket will be recorded.
II. Placement of the microphone
The microphone should be placed away from the wall and not close to your workbench, because sound will reflect back from these places and be captured by the microphone in your recording.
On the other hand, you don’t want to place the microphone in the center of the room, as standing waves can severely interfere with the recording. Therefore, try to place the microphone slightly closer to two of the walls, with the singer facing inwards, and most of the blankets (or whatever you use) pinned to the wall behind the singer’s head.
( Translator’s note: A standing wave is a stable sound wave pattern that forms in a fixed space. When a sound wave reflects back and forth between two parallel walls of a room, the reflected sound wave and the original sound wave interfere with each other, causing the sound to be particularly loud in some places in the room, while the sound is very soft or almost inaudible in other places.)
The best location might be furthest from your desk and window, but that’s not always practical, so try to minimize reflections.
The distance between a singer and the microphone depends entirely on the style of the song and the characteristics of their voice. For example, a screaming metal singer might need to be at least 1 foot (about 30.48 cm) away from the microphone, while a soft-voiced folk singer might need to be 4 to 6 inches (about 10.16 to 15.24 cm) away. However, these are just general recommendations, so it’s best to record a few short clips to test and determine the optimal distance for the song you’re recording before each recording session.
During recording, singers should keep their heads still and their feet still as much as possible . It’s also best to sing slightly off-center from the microphone , because most microphones (depending on their pickup pattern) are extremely sensitive to sound directly in front of the microphone; any movement toward or away from the microphone will be amplified in the center.
Experienced singers often tilt their heads back slightly when singing particularly high notes, and move closer to the microphone when singing softer parts. However, unless your singer is very familiar with their singing techniques, it is best to remain as still as possible.
III. Tips for using a blowout shield
A pop filter is essential ; it reduces the harsh plosive sounds produced by words beginning with “b” and “p” (caused by the singer exhaling a burst of air). This will greatly benefit you in subsequent sound processing and mixing stages.
Spray shields aren’t too expensive, but if you’re really on a tight budget, you can opt for a classic DIY solution: put an old nylon stocking over a frame made from a clothes hanger. If you don’t have a stocking, a kitchen sieve will do .
Another point to note is the proximity effect . If a singer’s mouth is only a few inches from the microphone, low frequencies will become abnormally prominent. So, if you encounter singers who unconsciously lean forward during recording, try adjusting the distance between the pop filter and the microphone so they can’t get close enough to trigger this effect.
IV. Noise Reduction Tips
Another option is to use an add -on screen, which can be mounted on your microphone stand and surrounds the rear half of the microphone, such as the Aston Halo, Reflexion Filter, or Primacoustic VoxGuard. These screens seal off the rear half of the microphone, preventing some of the room’s reflected sound from entering the microphone from that angle.

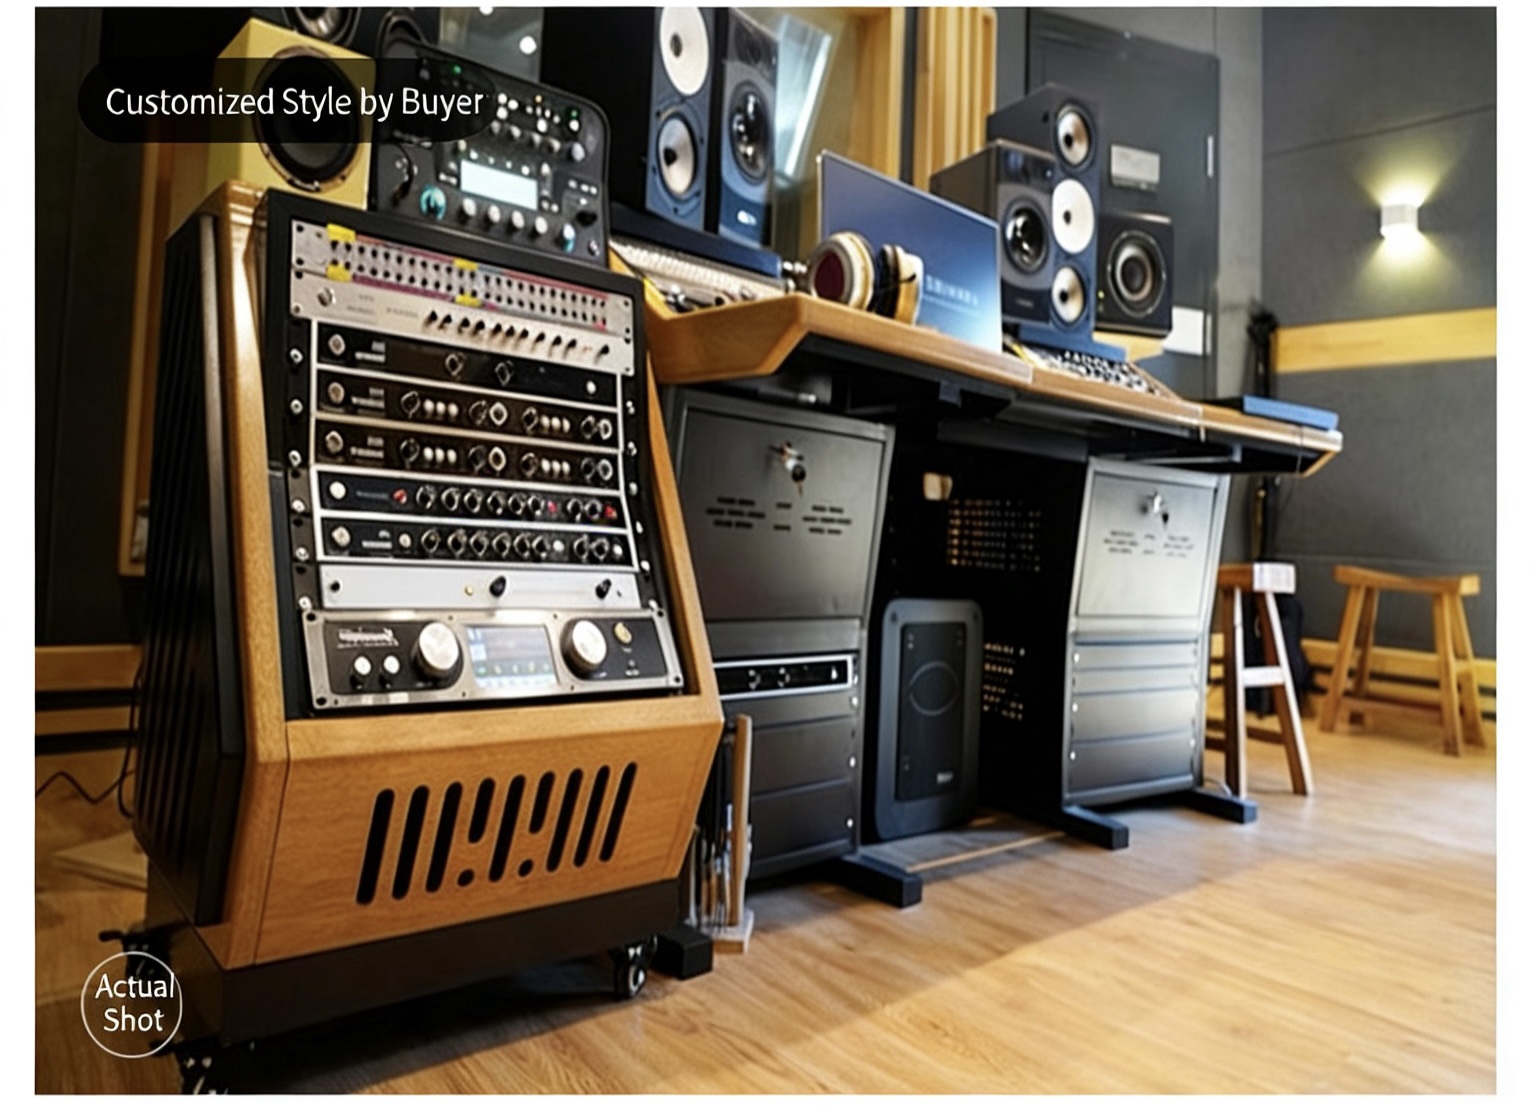
UNCUCO Studio Furniture
However, these devices can be quite expensive. As an alternative, you can hang a large blanket from the ceiling or move a tall piece of furniture (preferably wrapped in a blanket) behind the microphone to help you record a drier sound.
Finally, minimize any unwanted noise that might disrupt the recording. For example, if your computer’s cooling fan is very loud, consider buying some extension cables, moving your computer outside the room, or at least keeping it as far away from the microphone as possible.
More obvious precautions include closing all windows and doors, and turning off all electrical appliances you don’t use. If you live with others and someone might accidentally come in and disturb you, hang a “Recording in Progress” sign outside your door!
V. Regarding software…
Computer configuration is crucial for recording excellent vocals. First, you need to purchase the best audio interface (sound card) within your budget , as this will affect the overall quality of the recorded signal. Two main aspects to consider are the preamplifier (microphone preamp) and whether phantom power is needed (note that all condenser microphones require phantom power or a built-in battery, while dynamic microphones and most ribbon microphones do not).
In this tutorial, we used the Focusrite Saffire audio interface primarily because it features a high-quality, low-noise preamplifier, crucial for delivering a clean signal to your computer. It also provides phantom power for our Blue Microphones Bluebird condenser microphone. However, many other excellent audio interfaces are available on the market; you can compare them to find the one best suited for you, or refer to some of our previous reviews.
In the past, engineers often used hardware compressors to ensure that vocal audio signals were not clipped or distorted. However, the advent of 24-bit recording technology has rendered hardware compressors somewhat redundant for this purpose, as 24-bit recording provides sufficient dynamic range to capture the full range of sound signal intensity, from very loud to very faint. Remember, you don’t need to push the loudest signals to the upper limit of the audio interface input level meter ; in fact, in 24-bit recording, it’s generally recommended to keep the loudest parts around -12 dBFS.
However, if your system can only capture signals at a 16-bit depth, you need to be more careful with the level settings, otherwise very weak signals may be masked by noise and hiss.
You should aim for a signal peak of approximately -6 dBFS. This provides a reasonable margin of error, preventing situations where a singer accidentally approaches the microphone at the wrong time, causing the signal to be clipped. Then, if your track has particularly quiet moments, try recording those segments separately and adjusting the input gain accordingly.
Next, you need to consider the buffer size setting in your DAW, as an improper setting can cause latency issues . A smaller buffer setting will result in minimal delay between the vocals and the sound heard through headphones; however, if set too low, the accompaniment and vocal recordings may stutter intermittently. A higher setting should eliminate stuttering, but the delay between the vocals and the sound heard through headphones can be uncomfortable. Therefore, you should set the buffer size as low as possible without causing any stuttering.
VI. Testing, testing…
Before we continue, there are a few points to note.
First, you need to create a good monitor mix where the vocals can clearly drown out the accompaniment, but not so loud that they drown out the other instruments, otherwise it will be almost impossible to adjust the pitch.
Additionally, for songs where vocals precede any melodic instruments, you should play a piano note before that section begins to establish the starting pitch. Furthermore, if there are sections where instruments completely stop playing, you may need to create a temporary backing track so the singer can hear the rhythm and key of the song—this temporary backing track can be removed once the vocals are recorded.
You’ll often see singers wearing monitoring headphones in recording studios , but only on one ear . The advantage of this is that the singer can hear the accompaniment and the recorded vocals in one ear, while still hearing their own natural voice in the other. Typically, they choose closed-back headphones because these effectively prevent the accompaniment from leaking into the vocal recording.
Of course, the most important thing is the expressiveness of the singing itself . If another method can sacrifice some sound quality but bring a better performance, then all the suggestions mentioned above can be ignored.
Ultimately, these rules can all be broken. For example, if you listen to Christina Aguilera’s ” Beautiful ,” around 3 minutes and 45 seconds, you can actually hear the drumbeats leaking from her headphones, but the producer decided to keep that version because her vocals were simply too outstanding. Bono (U2’s lead singer and guitarist) once recorded vocals in the same room as the band to inspire a more energetic performance; while Master D, the former lead singer of the Asian Dub Foundation, preferred to listen to his own vocals through speakers to achieve his passionate renditions…