
How to Set Up a Sports Podcast Studio for the 2026 World Cup ?
104 matches. 48 nations. The biggest surge in football podcast audiences ever recorded. Your studio needs to be ready before June 11 — here’s exactly how to build it.
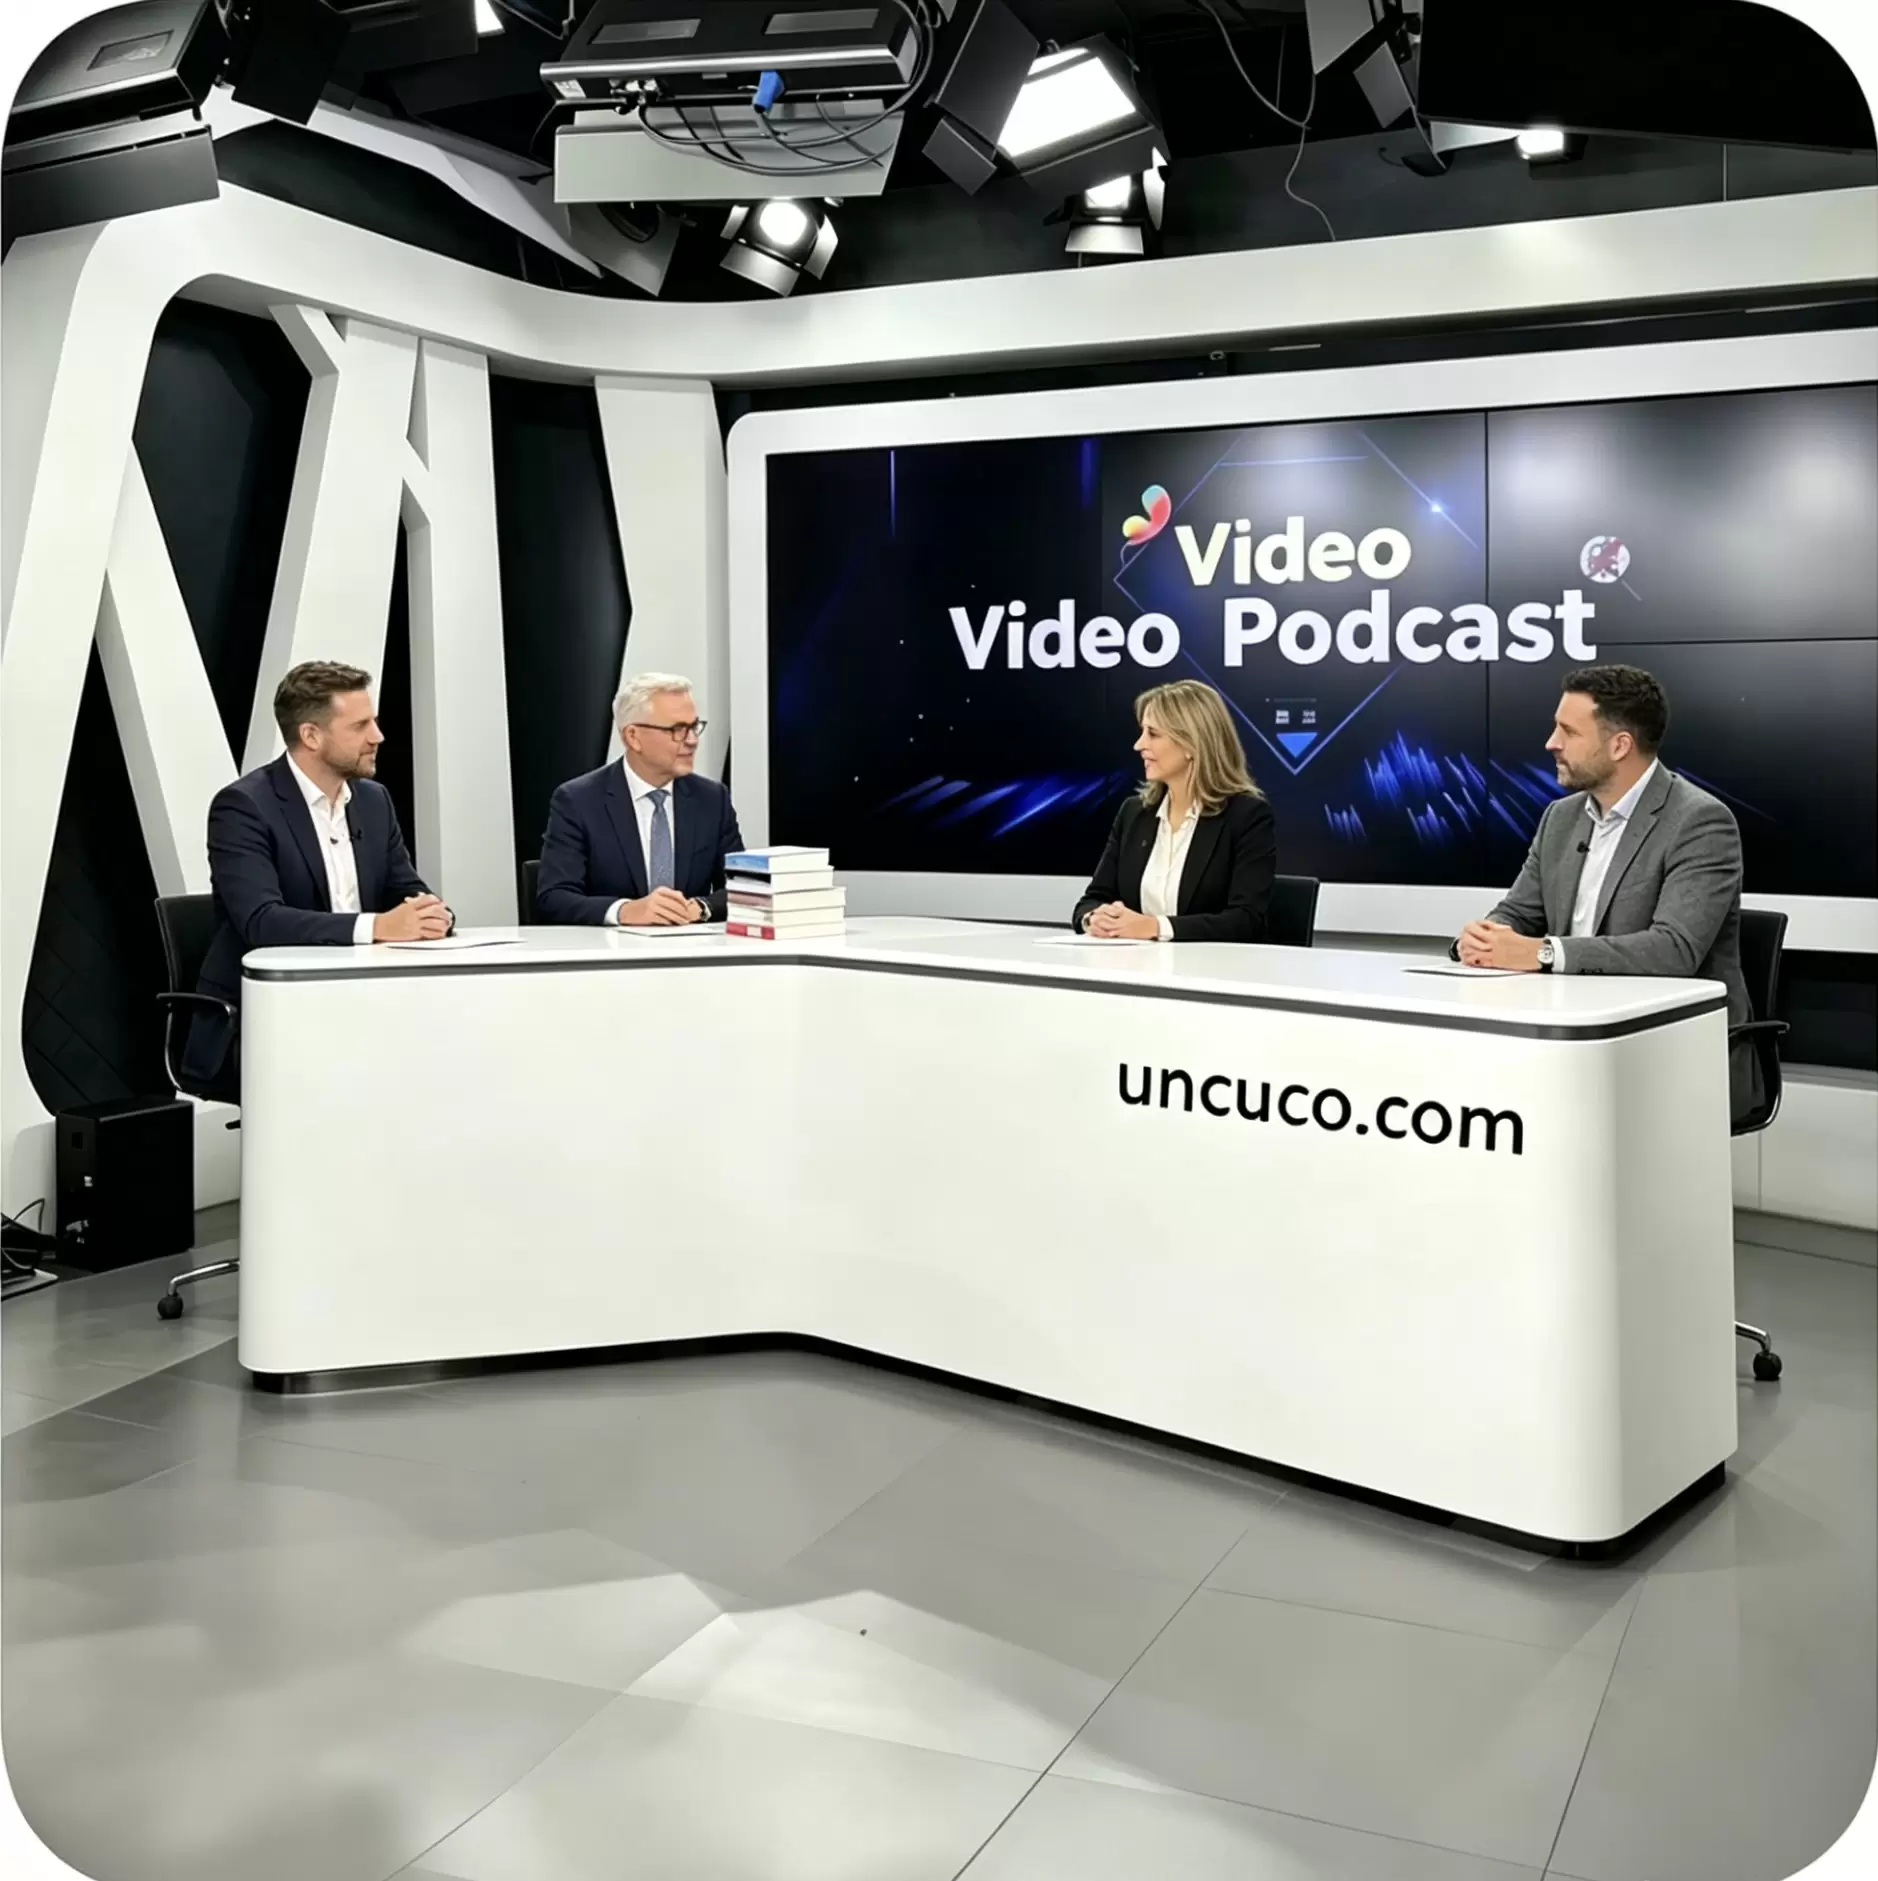
To set up a sports podcast studio for World Cup 2026: choose a podcast desk with integrated cable management (48″ minimum for solo, 60″+ for co-hosts), mount a dynamic microphone on a boom arm, add four acoustic panels to reduce room echo, connect to an audio interface for clean signal routing, and test your room tone before the first episode. A complete functional setup costs $400–$800; a professional video-podcast setup runs $1,200–$2,500.
The 2022 World Cup generated a measurable surge in sports podcast listenership that lasted well past the tournament. The 2026 edition — played across 16 cities in the United States, Canada, and Mexico, with 48 teams competing instead of 32 — is structurally designed to produce more content opportunities: more upsets, more storylines, more nations with passionate fanbases looking for content in their own language and style.
If you have been planning to launch a football podcast, or if you run one already and want to treat the World Cup as your biggest growth moment, the question is no longer whether to invest in your studio setup. It’s how to do it right before June 11.
“A podcast with great audio keeps listeners. A podcast with bad audio loses them in the first 90 seconds — regardless of how good the analysis is.”
Why the 2026 World Cup Is the Podcast Opportunity of the Decade
The expansion to 48 teams is not just a logistical change — it is a content multiplication event. In a 32-team tournament, many fanbases watch their team play three group-stage matches and go home. In a 48-team format, every group has four teams, meaning an extra match per group, more permutations, more “must-win” scenarios, and more dramatic final-day situations where multiple outcomes remain mathematically possible.
For podcasters, this means more episodes, more angles, more guests, and more reasons for new listeners to find your show mid-tournament. The key is being set up before the opening match — because the first two weeks of a World Cup are when the majority of new podcast subscriptions happen.
Step 1 — Solo or Co-Host? Choosing Your Format First
Your studio setup should follow your format — not the other way around. The single most common mistake podcasters make when building a home studio is buying equipment for a different show than the one they actually produce. A solo analysis show and a two-host debate show have meaningfully different technical requirements.
| Solo Host | Two-Host / Co-Commentary | |
|---|---|---|
| Desk Width | 48″ minimum | 60″+ recommended |
| Microphones | 1 × dynamic or condenser | 2 × matching dynamic mics |
| Audio Interface | 1-channel (Focusrite Solo) | 2-channel (Focusrite 2i2) |
| Host Positioning | Centered, facing camera | 90–120° angle to each other |
| Headphone Feeds | 1 monitor mix | 2 independent monitor mixes |
| Cable Management | Moderate complexity | High — dual mic rigs + routing |
| Acoustic Challenges | Standard room treatment | Voice bleed between mics |
| Best Format For | ✓ Tactical analysis, match reviews, solo opinion | ✓ Match debates, prediction shows, player ratings |
| Minimum Setup Cost | ~$400–600 | ~$700–1,000 |
If you’re launching for the World Cup specifically and don’t have an existing audience, a two-host format is statistically stronger for growth. Conversation is more listenable than monologue, disagreements generate engagement, and the energy of two people reacting to a match in real time is inherently compelling. The trade-off: more setup complexity and the dependency on a reliable co-host schedule across 39 days of tournament.
Step 2 — The Podcast Desk: Your Studio’s Foundation
In broadcast audio, there is a concept called the “signal chain” — the path your voice travels from your mouth to the listener’s ear, and every point in that chain where quality can be added or lost. Most podcasters focus obsessively on the microphone (one link in the chain) while ignoring the desk — which affects vibration transfer, cable organization, ergonomics, and on-camera appearance for video podcasting.
A purpose-built podcast desk is engineered around the actual demands of audio production. Here is what separates one from a standard office desk in a recording context:
Featured Product
Solo Desk vs. Co-Host Desk: Sizing Guide
For a solo podcaster, a 48-inch desk provides enough surface for a monitor, audio interface, a boom-arm mic, and a laptop or tablet for notes, with clear space for arm movement. For a two-host setup, 60 inches is the working minimum — it allows both hosts to position comfortably at the 90-120 degree angle that produces the best on-camera framing and reduces microphone bleed between channels.
If you anticipate occasional guest episodes, consider a 72-inch extended configuration. The extra 12 inches may seem unnecessary when it’s just the two regular hosts, but the difference between comfortably accommodating a third person and awkwardly squeezing them in is immediately visible on camera and audible in the audio (closer bodies = more bleed between microphones).
Step 3 — Acoustic Treatment: The Science in Plain Language
Acoustic treatment is the most misunderstood topic in home podcasting. The confusion usually comes from conflating two different problems: soundproofing (blocking sound from entering or leaving a room) and acoustic treatment (controlling how sound behaves inside a room). They require completely different solutions, and for most podcasters, only the second one matters.
What you are trying to prevent is flutter echo — the repeated bouncing of sound waves between parallel hard surfaces (typically two walls, or a wall and a ceiling) that creates the characteristic “bathroom echo” sound that immediately marks a recording as amateur. Flutter echo makes voices sound thin, distant, and fatiguing to listen to over the course of an episode.
Where to Place Acoustic Treatment
A bookshelf filled with books of varying sizes is one of the most effective acoustic diffusers available — the irregular surface of book spines and varying depths breaks up sound waves instead of reflecting them cleanly. Position a full bookshelf behind your recording area and you get free acoustic treatment that also looks professional on camera.
How Much Treatment Do You Actually Need?
The practical answer for most home podcast studios is: four 24″×48″ acoustic panels (two behind you, one on each side wall), a thick rug, and ideally a bookshelf behind the recording position. This setup, costing roughly $80–150 in materials, eliminates the audible echo in a typical carpeted bedroom or home office to a degree that most listeners will perceive as “professional studio quality.”
For untreated hard-floor rooms — tile, hardwood, or laminate — double the panel count and add a second rug. Hard floors create more aggressive reflections, and the increased treatment compensates.
Step 4 — Microphone Selection for Sports Commentary Audio
The microphone debate in podcasting has been running for a decade. The practical reality for a sports podcast setup comes down to one key variable: how well-treated is your room?
Dynamic Microphones (Recommended for Most Home Studios)
Dynamic microphones have a tighter pickup pattern and reject more ambient noise than condensers. They are significantly more forgiving in untreated rooms, less sensitive to desk vibration and air conditioning hum, and produce a naturally warm, present vocal character that suits energetic sports commentary particularly well. The trade-off is slightly less high-frequency detail — but for voice content, this is rarely perceptible to listeners.
Strong choices: Shure SM7dB (built-in preamp, no interface required), Rode PodMic ($99, USB or XLR), Electro-Voice RE20 (the broadcast industry standard).
Condenser Microphones (For Well-Treated Rooms)
Condensers capture more nuance, more room ambience, and a wider frequency range than dynamics. In a well-treated room, they sound exceptional — open, detailed, and natural. In a poorly treated room, they capture everything: the HVAC system, the refrigerator two rooms away, the traffic outside, and the echo from every hard surface. Only choose a condenser if your room treatment is solid.
Strong choices: Audio-Technica AT2020 (budget entry), Rode NT1-A (mid-tier), Neumann U87 (professional benchmark).
For co-hosted podcasts, always use matching microphones for both hosts. Different mic models have different frequency responses, meaning one voice will sound naturally brighter or warmer than the other in every episode. Matching mics creates sonic consistency that listeners perceive as “polished” even if they can’t identify exactly why.
Step 5 — Noise Control: The Pre-Recording Audit
Before you record your first episode, do a room tone test: set your levels, press record, and sit silently for 60 seconds. Then listen back with headphones at full volume. You are listening for every noise source that will appear in every episode you ever record in this room.
Step 6 — Complete Gear Checklist by Budget
$400–$650
$900–$1,500
$2,000–$3,500
Frequently Asked Questions
What desk is best for a sports podcast studio?
Do I need acoustic treatment for a home sports podcast?
Should I use a condenser or dynamic mic for sports podcast commentary?
How do I set up a two-person podcast desk for co-commentary?
How much does it cost to set up a sports podcast studio?
Ready to Build Your World Cup Podcast Studio?
Browse our full range of professional podcast desks — solo, co-host, and panel configurations — built specifically for broadcast-quality audio production.
→ View Podcast Desks
Free shipping · 25–37 day delivery · Ships before May 20