
Multi-Host Studio Guide · World Cup 2026
Configure a Multi-Host Setup for World Cup Match Analysis
Two analysts debating a penalty decision. Three voices dissecting a 4-3 thriller. A four-person panel predicting the quarterfinals. Here’s how to build the desk setup that makes it work.
· 2-Host · 60″+ Desk
· 3-Host · 72″+ Desk
· 4-Host · 84″+ Desk
📅 Updated March 2026 | ⏱ 16 min read | 🎯 Intermediate to Advanced
⚡ Quick Answer
A 2-host match analysis setup requires a 60″+ desk, two matching dynamic microphones on separate boom arms, a 2-channel audio interface, and a camera framing both hosts at 90–120° to each other. For 3–4 hosts, scale to 72–84″ desk width, use a multi-channel mixer (Rodecaster Pro II), alternate boom arm positions to prevent collision, and use a wide-angle camera at 10–12 feet or a multi-camera system with a switcher.
Solo commentary is one thing. The moment you put two or more analysts on camera together — disagreeing about whether that was a red card, debating formation changes, dissecting the manager’s substitution decision in the 78th minute — you create something qualitatively different. The energy is real, the dynamic is compelling, and the audience stays longer.
But multi-host setups introduce technical complexity that solo setups never face: microphone bleed, boom arm collisions, audio routing for individual channel separation, camera framing that captures everyone without distorting anyone, and desk dimensions that accommodate everyone without looking crowded on screen. Every one of these problems has a reliable solution. This guide covers all of them.
“The best sports debates on the internet don’t happen because the analysts are smarter. They happen because the setup lets the conversation breathe.”
// Step 1 · Foundation
Desk Dimensions: Space Per Host
The single most common configuration mistake in multi-host setups is underestimating desk width. When two people sit at a desk designed for one, the result is visible crowding on camera, boom arm collisions during animated discussions, and microphone placement compromises that hurt audio quality across every episode.
The working rule is 24 inches (60cm) of desk width per host as an absolute minimum, and 28–30 inches per host as the comfortable working standard. This provides enough surface for a monitor or notes, boom arm clearance, and the physical separation that on-camera framing requires.
Desk Width Requirements by Host Count (Top-View Diagram)
2-Host Configuration
Desk top view (ASCII):┌─────────────────────────────────────────────────────────┐ │ HOST A ZONE (28”) │ HOST B ZONE (28”) │ EQUIP │ │ 🎙 Monitor Notes │ 🎙 Monitor Notes │ 🖥 │ └─────────────────────────────────────────────────────────┘ ◄──────────────────── 60–72 inches total ─────────────────►
Hosts positioned at 90–120° angle to each other. Camera frames full width from 6–8 feet distance.
· Desk Width: 60–72”
· Per Host: 28”
· Camera Distance: 6–8 ft
3-Host Configuration
Desk top view (ASCII):┌──────────────────────────────────────────────────────────────────┐ │ HOST A (24”) │ HOST B (CENTER 24”) │ HOST C (24”) │ EQUIP │ │ 🎙 Monitor │ 🎙 Monitor 🎙 │ Monitor 🎙 │ 🖥 │ │ │ (Boom from rear) │ │ │ └──────────────────────────────────────────────────────────────────┘ ◄────────────────────── 72–84 inches total ───────────────────────►
Center host boom arm mounts from rear desk edge to avoid collision. Camera at 8–10 feet with 70–85° horizontal field of view.
· Desk Width: 72–84”
· Per Host: 24”
· Camera Distance: 8–10 ft
4-Host / Panel Configuration
Desk top view (ASCII):┌──────────────────────────────────────────────────────────────────────────┐ │ HOST A (22”) │ HOST B (22”) │ HOST C (22”) │ HOST D (22”) │ EQUIP │ │ 🎙 Monitor │ 🎙 Monitor │ Monitor 🎙 │ Monitor 🎙 │ 🖥 🖥 │ │ (Front clamp) │(Front clamp) │ (Rear clamp) │(Rear clamp) │ │ └──────────────────────────────────────────────────────────────────────────┘ ◄──────────────────────── 84–96 inches total ───────────────────────────►
Alternating front/rear boom arm clamps prevent arm-to-arm collision. Multi-camera setup recommended · Wide shot + individual close-ups.
· Desk Width: 84–96”
· Per Host: 22–24”
· Camera Distance: 10–12 ft
📐 The 2-Host Seating Angle
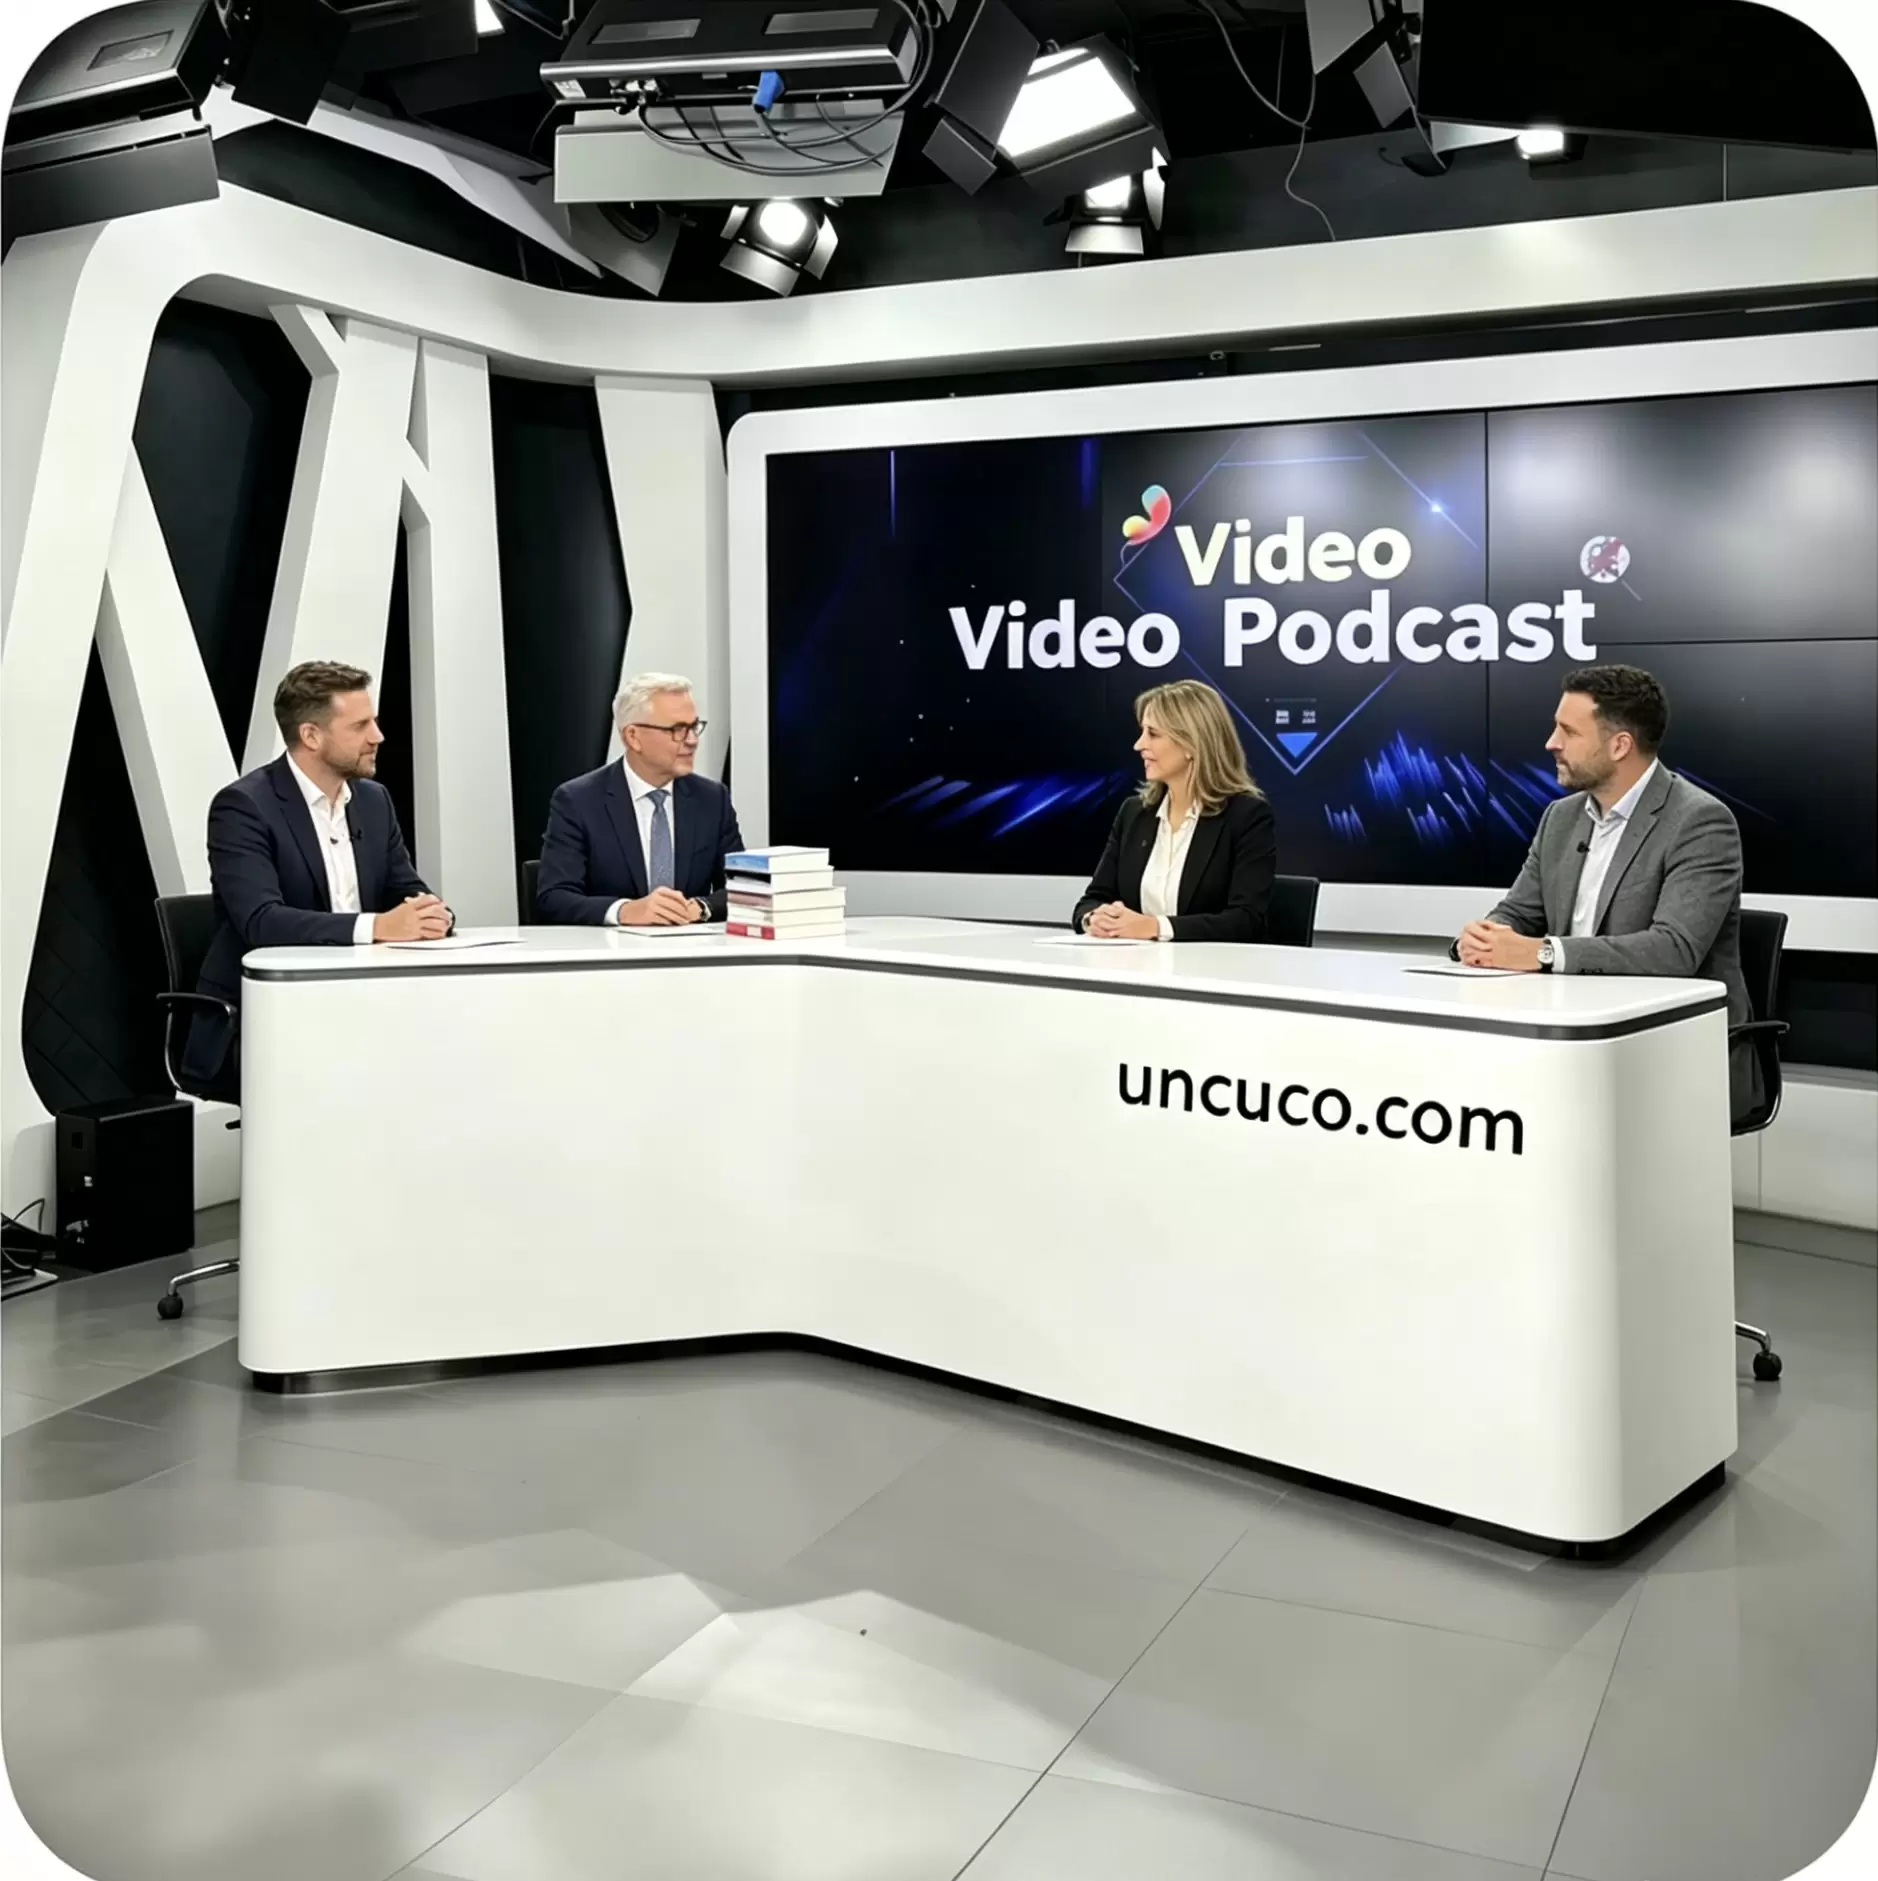
For two-host setups, never seat hosts side by side facing the camera directly — this creates a flat, static image and causes microphone bleed as both mics pick up both voices at equal volume. Instead, position hosts at 90–120° to each other (like a news desk corner), angled slightly toward the camera. This gives each host’s microphone a natural directional advantage on their own voice.
// Step 2 · Audio Setup
Boom Arm Layouts: Solving the Collision Problem
In a solo setup, mic boom arm positioning is straightforward. In a multi-host setup, it becomes a spatial puzzle: every host needs their mic at the correct distance from their mouth (4–6 inches), boom arms need clearance to move without colliding during the inevitable heated debate about a controversial VAR decision, and all arms need to stay out of the camera frame.
2-Host: Opposing Edge Mount (Recommended)
Desk diagram (ASCII): CAMERA ↓ ↓ ┌───────────────────────────────────┐ │ 🎙←BA [HOST A] [HOST B] BA→🎙 │ │ (Left Monitor Monitor Right) │ └───────────────────────────────────┘ ↑ ↑ Front-left clamp Front-right clamp Host A arm extends right Host B arm extends left
Mount both boom arms on opposite front desk edges. Arms extend inward at opposite angles, creating a natural crossing point above the desk center that avoids collision when repositioned. Each arm naturally steers toward its own host.
· ✓ Zero collision risk — arms extend in opposite directions
· ✓ Both mics stay out of frame when set slightly above and in front of hosts
· ✓ Each host adjusts independently without affecting the other’s position
· ✓ Cable routing is clean — both arms route to the same desk edge for interface connection
3-Host: Front/Rear Alternating Mount (Alternative)
Desk diagram (ASCII): CAMERA ↓ ↓ ↓ ┌──────────────────────────────────────┐ │ 🎙←BA [HOST A] [HOST B] [HOST C] │ │ (Front) Monitor Monitor Monitor │ │ ↑BA(rear) BA↑ │ │ (Rear mount) (Front) │ └──────────────────────────────────────┘
Host A: front-left clamp; Host B: rear-center clamp (arm reaches forward over desk); Host C: front-right clamp.
The center host uses a rear desk edge clamp, with the boom arm extending forward over the desk at a higher angle. This lifts the center arm above the plane of the two outer arms, eliminating collision. The center mic sits slightly higher but remains acoustically effective within 6–8 inches of the host.
· ✓ Three arms fit a 72” desk without competing for the same edge position
· ⚠ Center arm is visible in the lower frame — angle it above the camera horizon or use a desk-mounted gooseneck for center positions
· ✓ Cable routing: front arms route forward, rear arm routes back — keep channels separated in the desk’s cable management system
4-Host: Alternating Front/Rear Full Panel (Advanced)
Desk diagram (ASCII): CAMERA (wide angle / multi-cam) ↓ ↓ ↓ ↓ ┌──────────────────────────────────────────────────────┐ │ 🎙←BA [HOST A] [HOST B] [HOST C] [HOST D] BA→🎙 │ │ (Front) Monitor Monitor Monitor Monitor (Front) │ │ ↑BA(rear) ↑BA(rear) │ └──────────────────────────────────────────────────────┘
Hosts A & D: front left/right clamps; Hosts B & C: rear clamps, arms extending forward. Produces two vertical tiers of boom arm height — no collision.
The full alternating pattern creates two distinct height tiers: outer hosts at standard boom arm height, inner hosts at slightly elevated rear-mount height. No arms compete for the same airspace. The 84–96” desk provides the surface area for all four cable runs to route cleanly through the integrated management system.
· ✓ All four arms independent — any host can reposition without affecting the others
· ⚠ Requires desk depth of 28”+ minimum — rear-mount arms need surface depth to clear monitors and reach hosts’ mouth position
· ⚠ Multi-camera recommended at this host count — a single wide shot loses individual expression, which is the primary value of a panel format
· ✓ Each inner host gets a desk-mount gooseneck as an alternative to rear boom arms — simpler, cheaper, and equally effective for fixed-position recording
🎙 The Bleed Test — Do This Before Every Recording
Set your levels with all hosts at the desk. Have Host A speak normally into their mic. Monitor Host B’s, C’s, and D’s channels in isolation — you should hear very little of Host A’s voice on those channels. If bleed is significant, tighten mic-to-mouth distance (closer = more rejection of off-axis sound), switch to dynamic microphones if using condensers, and check that each mic’s cardioid null point (the rear) faces the neighboring hosts.
// Step 3 · Signal Chain
Audio Routing: One Channel Per Voice
The cardinal rule of multi-host audio production is one microphone channel per host, recorded independently. Mixing all voices onto a single stereo track before recording is the most common mistake in multi-host podcast production — it permanently prevents you from adjusting individual volumes, removing a cough on one channel, or adding independent compression to each voice in post-production.
Audio Interface / Mixer Comparison
Solution Max Inputs Best For Individual Tracks Price Range
Focusrite Scarlett 2i2 2 XLR 2-host recording-only ✓ Yes $120–$160
Focusrite Scarlett 4i4 4 XLR 3–4 host recording-only ✓ Yes $200–$250
Rodecaster Pro II 4 XLR + BT + USB 2–4 host live + recording ✓ Yes (per-channel) $600–$700
Zoom PodTrak P4 4 XLR Budget 4-host setup ✓ Yes $160–$200
USB Hub with 4× USB Mics 4 USB Budget workaround ⚠ Sometimes $0 (existing)
Single stereo interface 2 inputs mixed Not recommended ✗ Mixed to stereo —
Headphone Monitoring for Each Host
Every host in a multi-person setup needs their own headphone monitor feed. Without it, hosts cannot hear each other clearly, speak over each other more frequently, and the energy of the conversation suffers. The Rodecaster Pro II provides four independent headphone outputs with per-output volume control. With a Scarlett 4i4, you achieve the same result with a headphone amplifier ($40–$80) feeding multiple outputs from a single mix.
🔊 Levels During Live World Cup Reaction
World Cup panel shows have a specific audio challenge: hosts get genuinely loud during goals, controversial calls, and penalty shootouts. Set your input gain levels with hosts speaking at normal conversation volume, then leave 12–15dB of headroom above that. Sudden loud reactions — which are guaranteed during a 120-minute knockout match — clip digital audio in a way that cannot be recovered in post-production.
// Step 4 · The Foundation
The Studio Recording Desk: Built to Scale
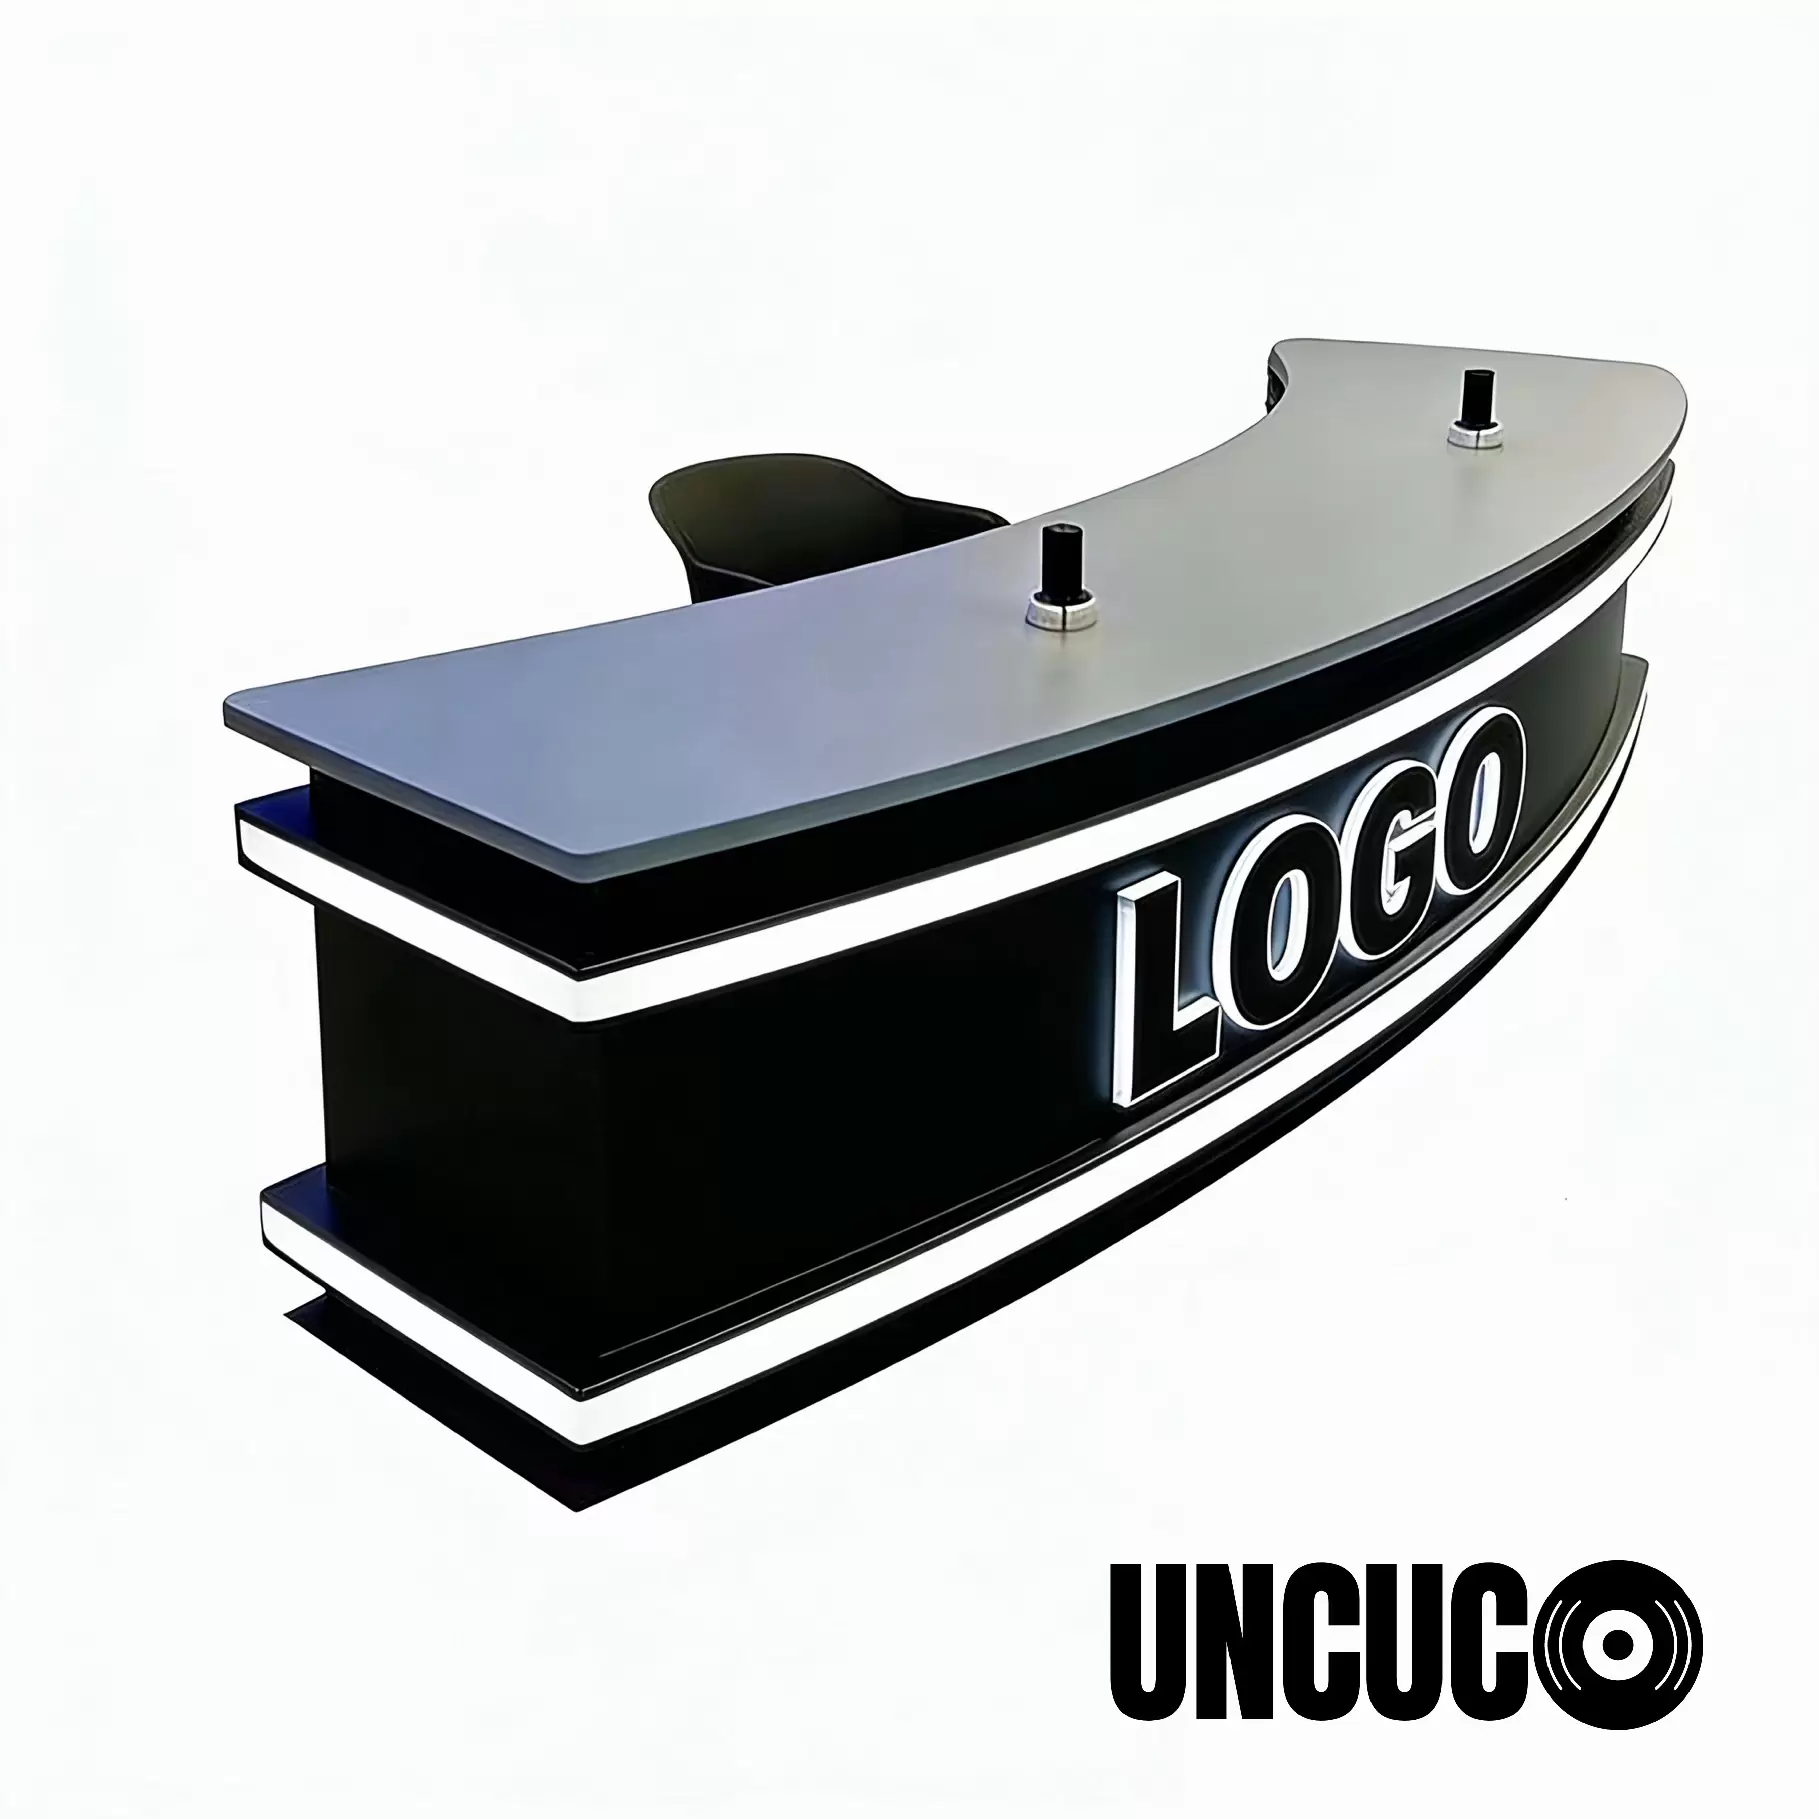
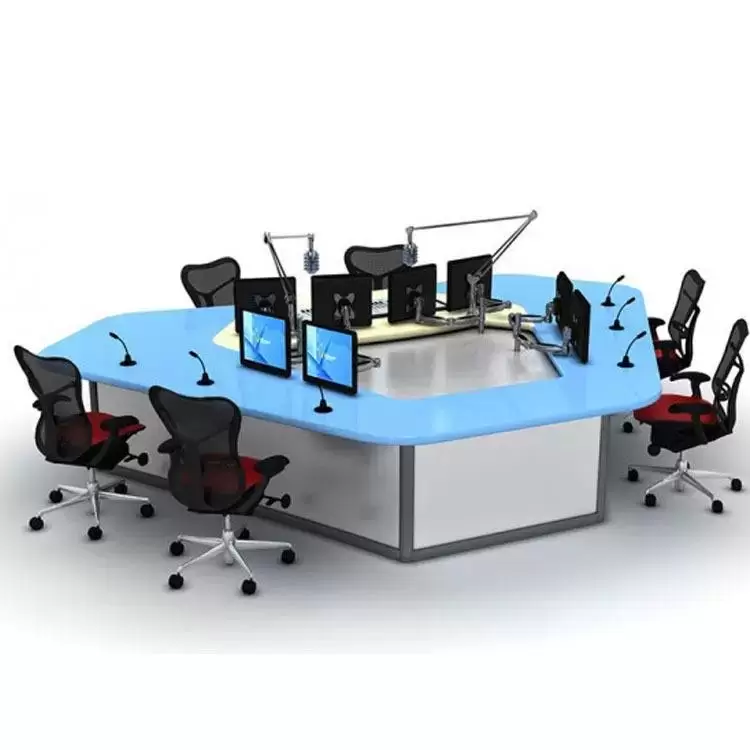
The technical requirements of a multi-host setup — multiple boom arm mount points, cable routing for 4+ XLR cables plus power, vibration isolation across a wide desk surface, and on-camera aesthetics that look consistent at any width — are exactly the problems a purpose-built Studio Recording Desk solves by design.
Why Scalability Is Engineered In, Not Added On
A standard desk with a third person added is visually and acoustically different from a desk designed for three people. Cable chaos multiplies. Boom arms compete for edges not built to support them. The surface finish that looked fine for one person now shows inconsistencies under wide-angle camera coverage.
· 01 Surface Continuity: Consistent matte finish across the full desk width — no visible joints or color variation in wide-angle camera frame
· 02 Multi-Point Cable Mgmt: Cable management channels run the full desk length — four XLR runs plus power never cross the desk surface
· 03 Reinforced Edge Rail: Front and rear edges support multiple boom arm clamps simultaneously — no flex, no vibration transfer between adjacent mics
· 04 Modular Extension: Start with a 60″ solo or 2-host unit — add extension sections to reach 72″, 84″, or 96″ as your show grows
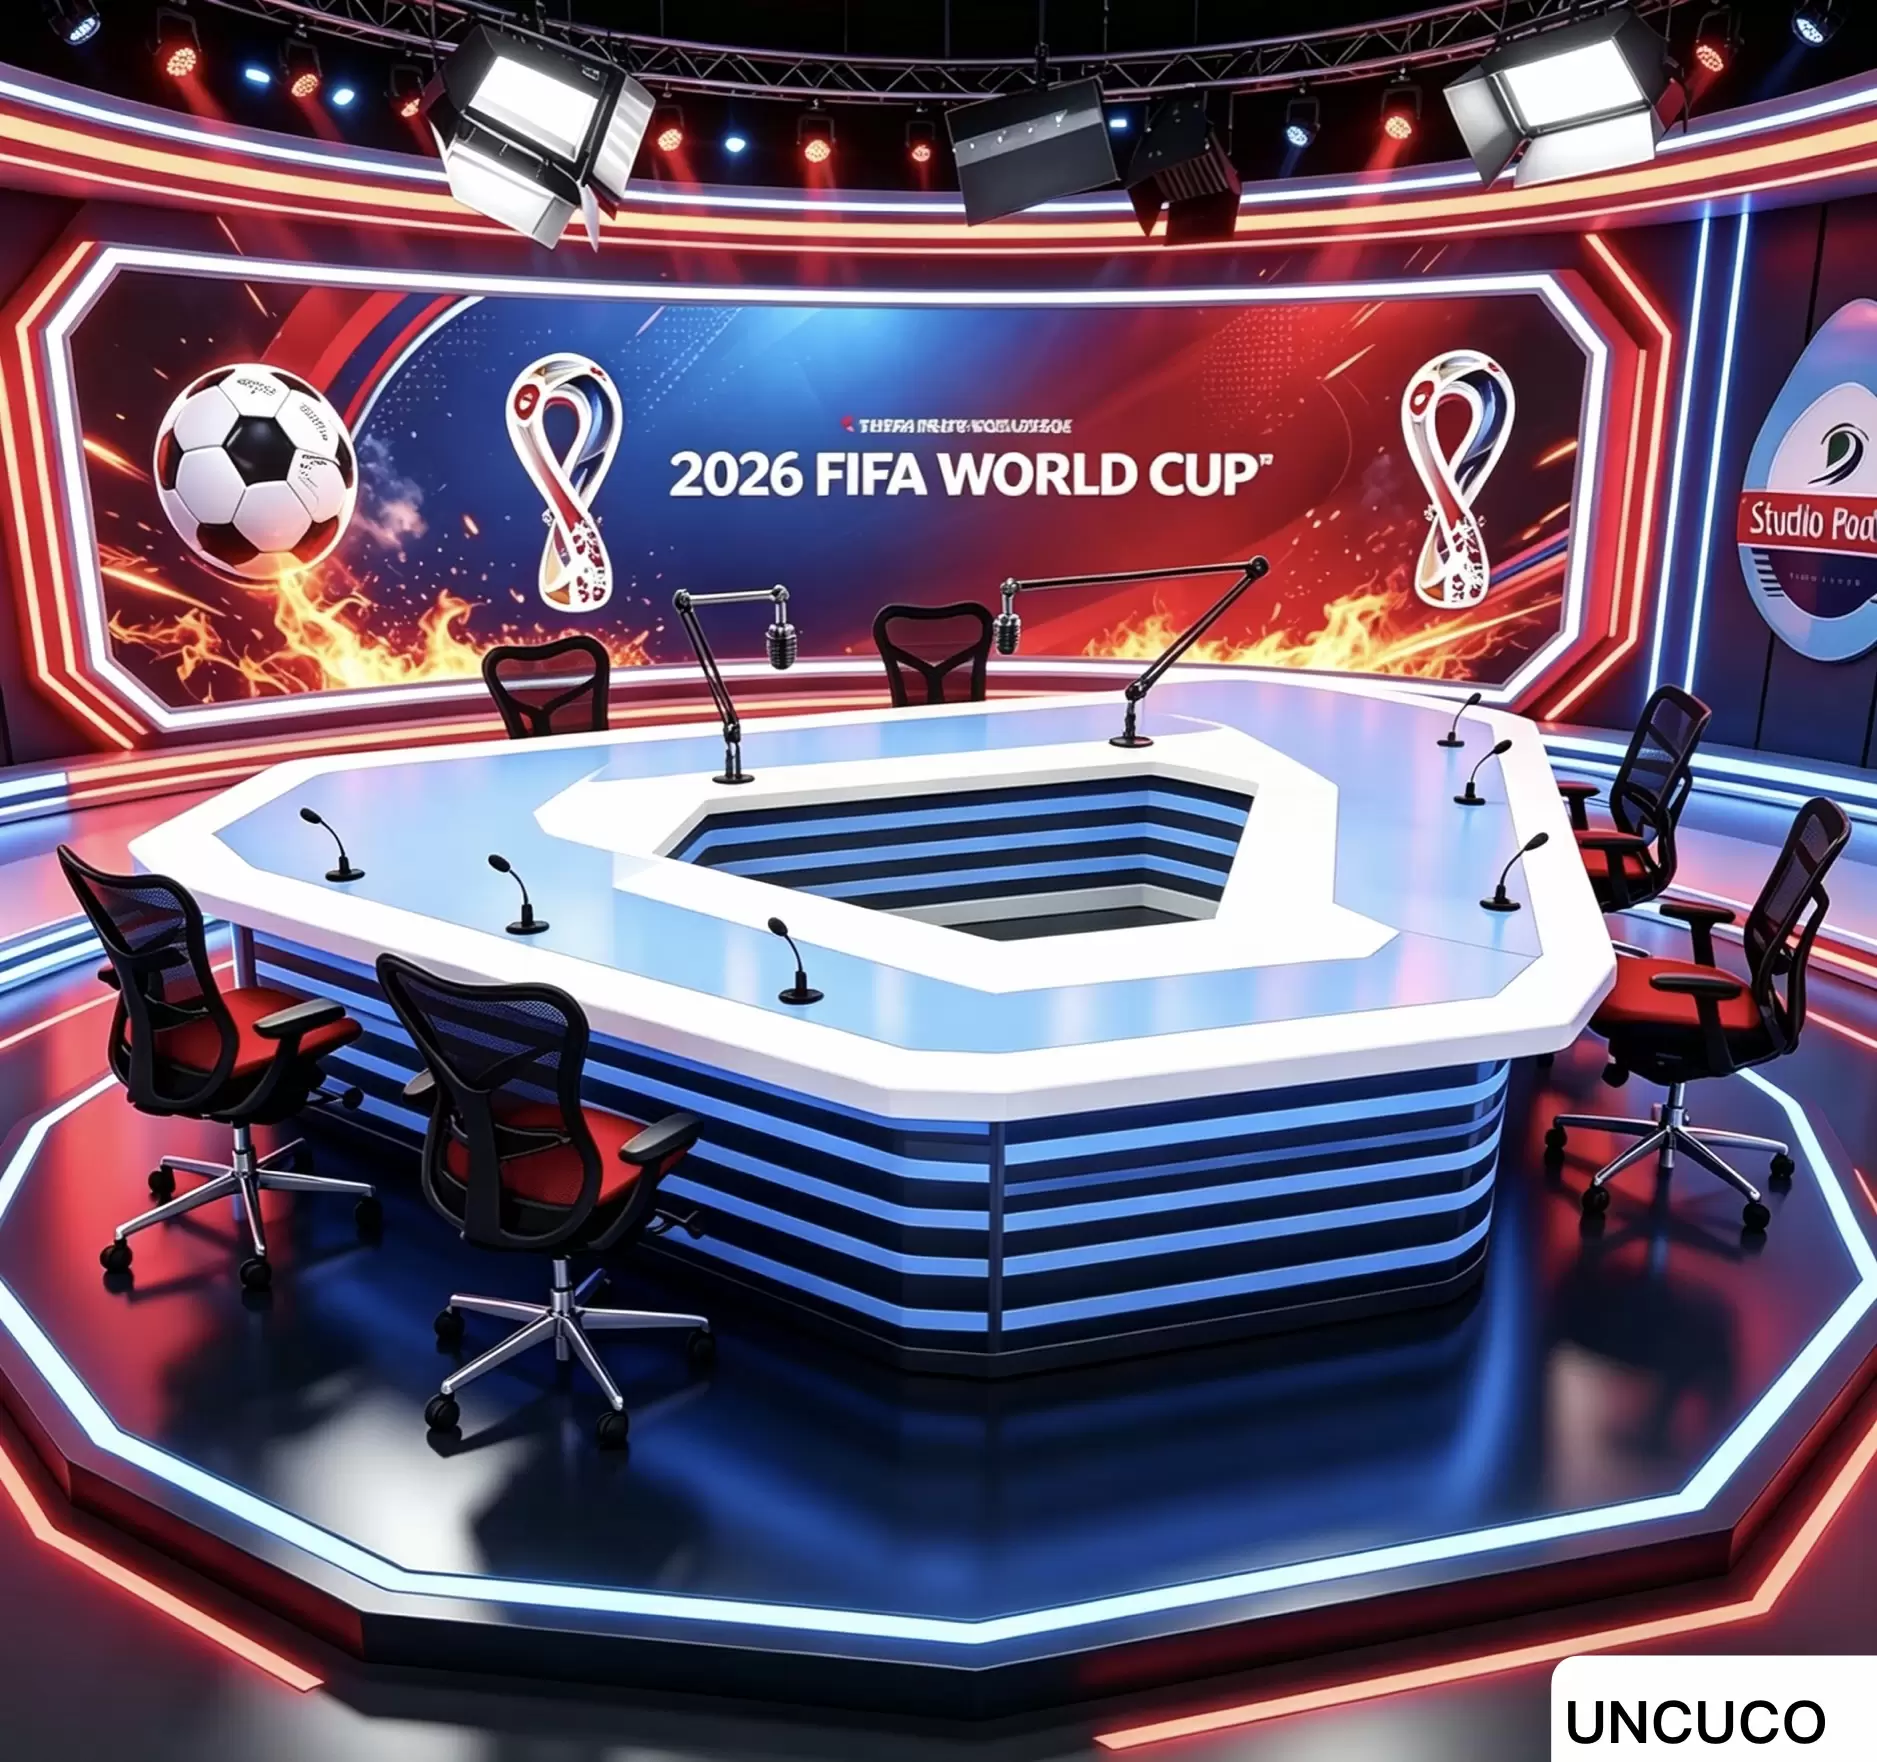
The modular extension capability matters particularly for creators who launch a show as a solo or two-host format during the World Cup group stage and scale up to a full panel for the knockout rounds. Adding a guest panelist for quarterfinal coverage is a growth strategy — the desk should support it without requiring a full equipment replacement.
// Step 5 · Real Examples
Creator Setup Case Studies
The most useful guidance is concrete. The following case studies are composites of real multi-host setup configurations used by independent creators, regional media outlets, and enterprise broadcast teams for World Cup coverage — representative of the actual choices made at each scale.
Independent Creator: The Two-Analyst Show
2 Hosts · $1,200 Budget
A football tactics YouTube channel with 40k subscribers runs a weekly match analysis show featuring two co-hosts. The format — one host argues a position, the other interrogates it — requires individual audio channels that can be edited independently in post, and a framing that captures both hosts’ reactions simultaneously.
Setup: 60″ Studio Recording Desk configured at a corner angle, two Rode PodMic XLR dynamic mics on opposing front-edge boom arms, Focusrite Scarlett 2i2 interface, Logitech Brio 4K camera at 7 feet on a small tripod, two-panel LED lighting.
· Desk Width: 60″
· Microphones: 2× PodMic
· Interface: Scarlett 2i2
“We spent two months on a kitchen table setup before getting the desk. The difference wasn’t just visual — the mic positioning finally worked the way it was supposed to because the desk edges could actually hold the boom arms properly.”
— Independent YouTube Creator, 40k subscribers
Regional Media Outlet: The Three-Voice Panel
3 Hosts · $2,800 Budget
A regional sports radio station launching a World Cup video companion show — three presenters covering group stage matches in a 45-minute post-match format. The setup needed to match the station’s existing audio standard while looking visually professional for YouTube and social clips.
Setup: 78″ Studio Recording Desk in a news anchor configuration, three Shure SM7dB dynamic mics in alternating front/rear boom arm positions, Rodecaster Pro II as the central audio hub, Sony ZV-E10 wide-angle camera at 9 feet, full 3-light LED system including background separation.
· Desk Width: 78″
· Microphones: 3× SM7dB
· Mixer: Rodecaster Pro II
“The alternating boom arm layout was the piece we couldn’t figure out on our own. Once we had it, the center presenter could lean in during an argument without the arms colliding — which happens every single episode.”
— Technical Producer, Regional Sports Radio
Enterprise / Corporate Media: The Four-Person Broadcast Panel
4 Hosts · $5,500 Budget
A global sports brand’s internal media team producing a World Cup analysis show for their owned social channels and internal communications. Four analysts covering different geographic regions, live-streaming match reaction content daily during the tournament across a 39-day schedule.
Setup: 96″ Studio Recording Desk custom configuration, four Rode PodMic XLR mics in full alternating boom arm layout, Rodecaster Pro II plus secondary Scarlett 4i4 for redundant recording, multi-camera setup (one wide Sony A7 IV plus two PTZ cameras for individual close-ups), ATEM Mini Extreme ISO for live switching, 5-light LED system.
· Desk Width: 96″
· Microphones: 4× PodMic
· Video System: Multi-Cam + ATEM
“We needed a desk that could support four independent audio rigs without any of it showing on camera. The cable management solved a problem we’d been working around for three years with gaffer tape and prayers.”
— Head of Content Production, Sports Brand
// Step 6 · Visual Production
Camera Framing for Wide Panel Shots
Camera framing for multi-host setups follows a different logic than solo or two-person content. The wider the desk, the more the camera needs to pull back — and the more a wide camera angle creates geometric distortion at the edges of frame where your outer hosts sit. Getting this right is a combination of camera distance, lens focal length, and host positioning.
The Lens Rule for Panel Width
Wide-angle lenses (16–24mm equivalent) distort faces at the edges of their frame when hosts sit close to the camera. For a 4-host panel where outer hosts are near the frame edges, a longer focal length (35–50mm equivalent) at greater camera distance produces more natural-looking faces across the full width. The trade-off is camera distance: a 50mm equivalent lens that fits all four hosts in frame needs to be 12–15 feet from the desk — a depth that may not be available in a typical home studio setup.
The practical solution for home setups with limited room depth: a multi-camera approach with one wide master shot and individual close-up cameras per host. This allows dynamic cutting during conversation, looks professional at any room depth, and produces significantly more engaging content for audiences accustomed to broadcast production values.
📷 Multi-Camera on a Budget
A simple multi-camera setup for a 4-host panel doesn’t require four expensive cameras. Use one primary camera for the wide shot (your best camera), and supplement with Logitech Brio 4K webcams or even smartphones on mini tripods for individual close-ups. OBS Studio handles up to 4 camera feeds simultaneously at no cost, and its scene switching lets you cut between wide and tight shots during recording. The per-camera cost for close-up angles at this level is $0–$150 per host.
// FAQ
Common Questions
How much desk space do I need for a 2-person podcast setup?
A 2-person podcast setup requires a minimum 60-inch (5-foot) wide desk — 30 inches per host for working space, boom arm clearance, and on-camera framing. For video recording, 60 inches allows both hosts to be captured in a standard wide shot without looking cramped. The 90–120° seating angle between hosts requires the desk to support both positions without forcing side-by-side alignment.
How do you prevent microphone bleed in a multi-host podcast setup?
To minimize mic bleed in a multi-host setup: use dynamic microphones (better off-axis rejection than condensers), keep each mic 4–6 inches from its host’s mouth on a boom arm, orient the microphone’s null point (rear of cardioid pattern) toward neighboring hosts, and increase physical distance between hosts where desk space allows. In post-production, apply a noise gate plugin on each channel to eliminate bleed during silences.
What is the best camera setup for a 4-person sports panel show?
For a 4-person sports panel show, the best setup is a wide-angle master shot camera (16–24mm equivalent at 10–12 feet) combined with individual close-up cameras per host. This multi-camera approach enables dynamic cutting during discussions and close-up reaction shots during key moments, which is what broadcast audiences expect from panel content. OBS Studio handles free multi-camera switching; an ATEM Mini allows professional live production.
Can a Studio Recording Desk be configured for multiple hosts?
Yes. A Studio Recording Desk is designed with modular scalability — it configures from a solo 48-inch setup to a 4-host 96-inch panel configuration using extension sections joined with alignment brackets. Shared cable management channels route all hosts’ XLR, power, and data cables through a single hidden pathway. The consistent surface finish maintains visual quality across the full width under wide-angle camera coverage.
What audio mixer should I use for a 3–4 person sports talk show?
The Rodecaster Pro II is the most practical all-in-one solution for 3–4 person sports talk shows — it handles 4 XLR inputs with per-channel compression and EQ, provides four independent headphone monitor outputs, and connects via USB for multitrack recording and streaming simultaneously. For recording-only workflows, the Focusrite Scarlett 4i4 ($200–$250) provides four independent XLR channels at lower cost but without on-board processing.
// Custom Configuration
Build Your Panel Setup
Every multi-host setup is different. Tell us your host count, your room dimensions, and your World Cup launch date — we’ll specify the right desk configuration and ship before June 11.
· 2-host, 3-host, and 4-host desk configurations
· Modular extension sections for future scaling
· Custom cable management routing specifications
· Boom arm mount points pre-positioned to your layout
· Matte broadcast finish in your choice of color
· Ships fully assembled — setup in under 2 hours
→ Request Custom Consultation
Response within 24 hours · Free configuration quote · Ships before June 11